Tiling your kitchen is more than just an aesthetic upgrade; it’s an investment in the durability and functionality of your space. According to a report by the National Association of Realtors, kitchen renovations, including tiling, can increase home value by up to 80% of the project cost. This means that for every dollar spent, you could see a return of $0.80 in added home value.
Disclaimer: As an Amazon Associate, I earn commission from qualifying purchases.
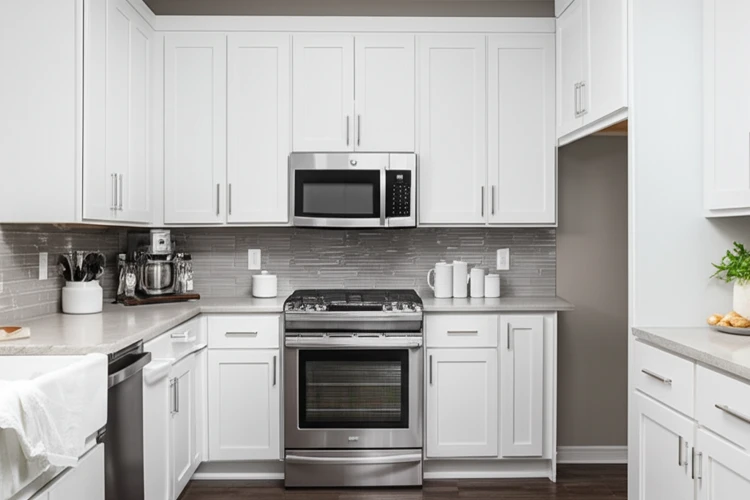
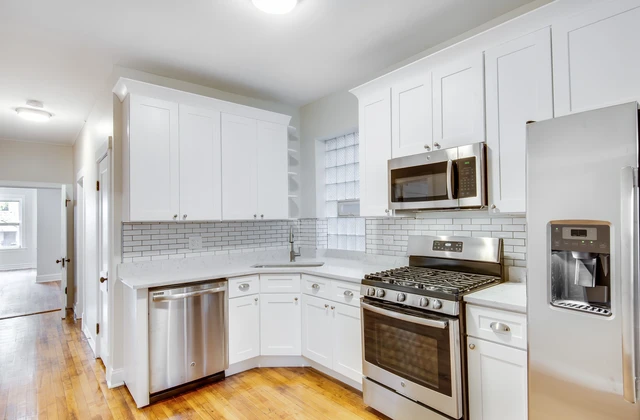
Kitchen tiles are renowned for their durability and ease of maintenance. Unlike other materials, tiles are resistant to stains, scratches, and heat, making them ideal for high-traffic areas like kitchens. Additionally, tiles come in a variety of styles, colors, and patterns, allowing homeowners to customize their kitchen’s look to match their personal style.
Tools and Materials Needed
Before diving into the tiling process, it’s crucial to gather the necessary tools and materials. Here’s a comprehensive list:
Tools:
- Tile Cutter: Essential for cutting tiles to fit specific areas.
- Trowel: Used for spreading adhesive.
- Grout Float: Helps apply grout evenly.
- Spacers: Ensure consistent gaps between tiles.
- Level: Ensures the surface is flat and even.
- Safety Gear: Includes gloves, goggles, and a dust mask.
Materials:
- Tiles: Choose the type that fits your kitchen’s style and needs.
- Adhesive: Thinset or mastic, depending on the tile type.
- Grout: Sanded or unsanded, based on the tile joint width.
- Sealer: Protects the grout from moisture and stains.
- Primer: Prepares the surface for better adhesion.
Preparing Your Kitchen for Tiling
Preparation is key to a successful tiling project. Follow these steps to ensure your kitchen surfaces are ready:
Step 1: Cleaning
Begin by thoroughly cleaning the surface to remove any dirt, grease, or debris. Use a degreaser if necessary.
Step 2: Leveling
Ensure the surface is flat and even. Use a level to check for any high spots or dips. Sand down high spots and fill dips with a leveling compound.
Step 3: Priming
Apply a primer to the surface to enhance adhesion. This step is crucial for ensuring the tiles stick properly.
Step 4: Layout Planning
Plan the layout of your tiles. Start from the center of the room and work outwards to avoid small, awkward cuts at the edges.
Choosing the Right Tiles
Selecting the right tiles for your kitchen involves considering several factors, including durability, maintenance, and aesthetics. Here’s a comparison of popular tile types:
Ceramic Tiles
- Pros: Affordable, easy to clean, and come in various styles.
- Cons: Less durable than porcelain, can chip or crack more easily.
Porcelain Tiles
- Pros: Highly durable, resistant to moisture, and suitable for high-traffic areas.
- Cons: More expensive than ceramic, heavier, and require stronger adhesives.
Natural Stone Tiles
- Pros: Unique, luxurious appearance, and adds significant value to the home.
- Cons: Requires regular sealing, prone to staining, and more expensive.
Step-by-Step Guide to Laying Kitchen Tiles
Laying kitchen tiles involves several meticulous steps. Here’s a detailed guide:
Step 1: Measure and Mark
Measure the area to be tiled and mark the center point. This will be your starting point.
Step 2: Apply Adhesive
Using a trowel, spread the adhesive over a small section of the floor. Make sure to follow the manufacturer’s instructions for mixing and application.
Step 3: Lay the Tiles
Place the tiles on the adhesive, using spacers to ensure even gaps. Start from the center and work outwards, checking for levelness as you go.
Step 4: Cut Tiles
Use a tile cutter to cut tiles to fit around edges and corners. Measure carefully to avoid mistakes.
Step 5: Allow to Set
Let the adhesive set according to the manufacturer’s instructions before walking on the tiles.
Grouting and Sealing
Grouting and sealing are essential steps that ensure the longevity and maintenance of your tiles.
Step 1: Apply Grout
Mix the grout according to the manufacturer’s instructions. Use a grout float to apply it evenly, working diagonally to ensure all joints are filled.
Step 2: Clean Excess Grout
Wipe off excess grout with a damp sponge, being careful not to remove grout from the joints.
Step 3: Seal the Grout
Apply a grout sealer to protect against moisture and stains. Follow the manufacturer’s instructions for application and drying times.
Common Mistakes to Avoid
Avoiding common mistakes can save you time and money. Here are some pitfalls to watch out for:
- Improper Surface Preparation: Ensure the surface is clean, dry, and level before laying tiles.
- Uneven Tile Placement: Use spacers to maintain consistent gaps between tiles.
- Inadequate Adhesive: Follow the manufacturer’s guidelines for mixing and applying adhesive.
- Neglecting Grout Sealing: Always seal the grout to prevent moisture damage.
Maintaining Your Tiled Kitchen
Proper maintenance is crucial for extending the lifespan of your kitchen tiles.
- Regular Cleaning: Use mild detergents and warm water to clean the tiles. Avoid abrasive cleaners that can scratch the surface.
- Periodic Resealing: Reseal the grout every 6-12 months to maintain its protective barrier.
- Immediate Stain Removal: Clean spills immediately to prevent stains from setting in.
Kitchen Tiling Trends
Staying current with kitchen tiling trends can enhance the aesthetic appeal of your space.
- Patterned Tiles: Geometric and intricate patterns are gaining popularity.
- Neutral Colors: Shades of white, beige, and gray remain timeless choices.
- Natural Stone Look: Tiles that mimic the appearance of natural stone are increasingly favored.
DIY vs. Professional Tiling
Deciding between DIY and professional tiling depends on your skills, time, and budget.
DIY Tiling
- Pros: Cost-effective, allows for personal customization.
- Cons: Time-consuming, requires specific skills and tools.
Professional Tiling
- Pros: High-quality results, quicker completion time.
- Cons: More expensive, less control over the process.
Frequently Asked Questions (FAQs)
How much does it cost to tile a kitchen?
The cost of tiling a kitchen varies widely depending on the tile type, size of the area, and whether you hire a professional. On average, expect to spend between $1,500 and $4,000 for a mid-sized kitchen.
What is the best type of tile for a kitchen?
Porcelain tiles are often considered the best for kitchens due to their durability, resistance to moisture, and ease of maintenance. However, the choice ultimately depends on your specific needs and preferences.
How long does it take to tile a kitchen?
The time required to tile a kitchen can vary from a few days to a week, depending on the size of the area and the complexity of the design. Professional installation typically takes less time than DIY projects.
Can I tile over existing tiles?
Yes, you can tile over existing tiles, but it’s crucial to ensure the current tiles are securely adhered and level. This method can save time and reduce debris but may not be suitable for all situations.
What kind of maintenance is required for kitchen tiles?
Regular cleaning with mild detergents, immediate stain removal, and periodic resealing of the grout are essential for maintaining kitchen tiles. Avoid using abrasive cleaners to prevent scratching.
Conclusion
Tiling your kitchen is a significant investment that enhances both the aesthetics and functionality of your space. By following the steps outlined in this guide, you can ensure a successful tiling project that adds value to your home. Remember, proper planning, preparation, and execution are key to achieving a durable and visually appealing tiled kitchen. Whether you choose to DIY or hire a professional, always prioritize safety and adhere to best practices for a long-lasting result.