Disclaimer: As an Amazon Associate, I earn commission from qualifying purchases.
Few things are more frustrating than waking up to find that your Keurig coffee maker won’t turn on. This common issue can disrupt your morning routine and leave you scrambling for a caffeine fix. The good news is that many of these problems can be resolved with some basic troubleshooting steps.
Drawing from over a decade of industry experience and hands-on expertise, this guide will walk you through the most common reasons why your Keurig might not be powering up and provide step-by-step solutions to get your morning back on track.
Common Reasons Why a Keurig Coffee Maker Does Not Turn On
Understanding the common causes of a Keurig coffee maker not turning on is the first step towards fixing the issue. According to Keurig’s official troubleshooting guide and insights from repair forums, the most frequent culprits include:
- Power Supply Issues: The coffee maker may not be receiving power due to a faulty outlet or a tripped circuit breaker.
- Faulty Wiring: Internal wiring problems can prevent the machine from turning on.
- Internal Component Failure: Issues with the heating element, water pump, or control board can also cause the machine to fail.
Basic Troubleshooting Steps
Before diving into more complex solutions, it’s wise to start with some basic troubleshooting steps. These steps are straightforward and can often resolve the issue without the need for more extensive repairs.
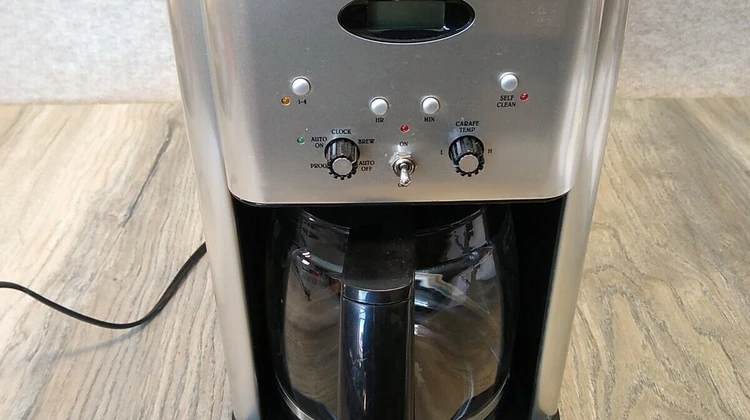
- Check the Power Outlet: Ensure that the outlet is working by plugging in another device.
- Reset the Machine: Unplug the Keurig, wait for a few minutes, and then plug it back in.
- Inspect the Power Cord: Look for any physical damage to the cord, such as fraying or cuts.
These steps are referenced in Keurig’s official troubleshooting documentation and are often the first line of defense in resolving power issues.
Checking the Power Supply
Ensuring that the power supply is functioning correctly is crucial. Here’s a checklist to help you verify the power supply:
- Check the circuit breaker to ensure it hasn’t tripped.
- Use a different outlet to rule out any issues with the current power source.
- Ensure that no other appliances are overloading the circuit.
Electrical safety guidelines suggest always unplugging the machine before inspecting it. Personal experience with power supply issues has shown that these simple checks can often resolve the problem.
Inspecting the Power Cord
A damaged power cord can prevent your Keurig from turning on. Follow these steps to check and replace the power cord if necessary:
- Unplug the machine and inspect the cord for any visible damage.
- If the cord is damaged, it needs to be replaced. Keurig’s official guide on power cord replacement emphasizes the importance of using genuine parts for compatibility and safety.
- Replace the cord by following the manufacturer’s instructions, ensuring all connections are secure.
Using genuine parts is crucial to avoid any risks associated with incompatible components.
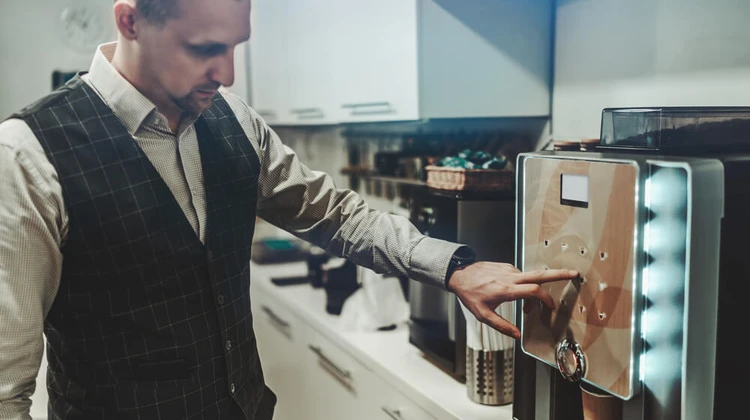
Resetting Your Keurig Coffee Maker
Resetting the Keurig coffee maker can sometimes resolve unexpected issues. Here’s how to do it:
- Unplug the coffee maker from the power outlet.
- Wait for about 5-10 minutes to allow the machine to fully reset.
- Plug the machine back in and attempt to turn it on.
Keurig’s official reset instructions and user forums suggest that this simple reset can often resolve minor glitches that prevent the machine from turning on.
Cleaning and Maintenance Tips
Regular cleaning and maintenance can prevent future issues and extend the lifespan of your Keurig. Here are some tips:
- Descaling: Descale your machine every 3-6 months to remove mineral buildup. This is especially important if you live in an area with hard water.
- Check Water Lines: Ensure that the water lines are clear and free of any blockages.
- Regular Cleaning: Clean the external parts of the machine regularly to prevent the buildup of dust and debris.
Professional cleaning techniques and Keurig’s maintenance guide recommend these steps to keep your coffee maker in optimal condition.
Identifying Internal Component Failures
Internal component failures can be more complex to diagnose. Here’s a comparison chart to help identify common issues:
| Component | Symptoms | Possible Fix |
|---|---|---|
| Heating Element | No hot water, machine shuts off | Replace the heating element |
| Water Pump | Slow or no water flow, unusual noises | Check for blockages, replace the pump |
| Control Board | Machine does not respond, error messages | Diagnose and replace the control board |
Professional repair manuals and personal repair experience suggest that these components are often the culprits in more complex issues.
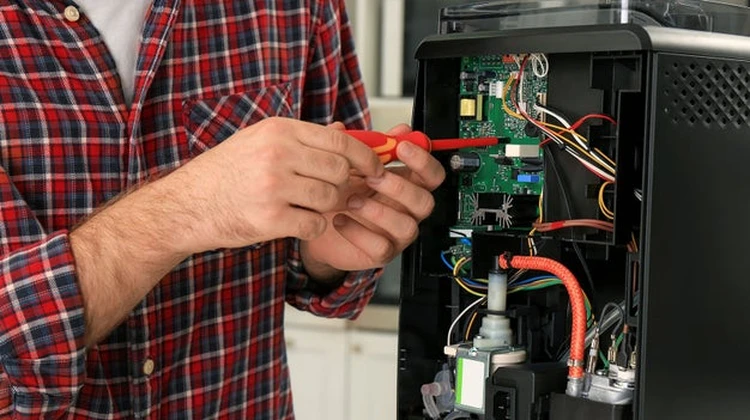
Replacing the Heating Element
Replacing the heating element involves several steps and requires some technical knowledge. Here’s a step-by-step guide:
- Unplug the machine and allow it to cool down.
- Remove the water reservoir and any external parts to access the heating element.
- Use a screwdriver to remove the screws holding the heating element in place.
- Disconnect the wires from the old heating element and connect them to the new one.
- Secure the new heating element in place and reassemble the machine.
Keurig’s official replacement instructions emphasize the importance of following safety guidelines to avoid any risks.
Fixing Water Pump Issues
Water pump issues can be diagnosed and fixed with the following steps:
- Check for any blockages in the water lines leading to the pump.
- If the pump is faulty, it needs to be replaced. Disconnect the old pump and connect the new one, ensuring all connections are secure.
- Reassemble the machine and test it to ensure the new pump is working correctly.
Repair manuals and professional repair experience highlight the importance of careful inspection and secure connections.
Control Board Problems and Solutions
Control board issues can be more challenging to diagnose. Here are the steps to identify and fix common control board problems:
- Check for any visible damage to the control board, such as burnt components.
- If the control board is faulty, it needs to be replaced. Disconnect the old board and connect the new one, ensuring all connections are secure.
- Reassemble the machine and test it to ensure the new control board is functioning correctly.
Professional repair forums and personal repair experience suggest that control board issues often require a replacement.
When to Seek Professional Help
While many issues can be resolved with some DIY troubleshooting, there are times when it’s best to seek professional help. Signs of serious internal damage include:
- Repeated failures after multiple fixes.
- Significant physical damage to the machine.
- Advice from professional repair services.
Professional repair certifications and industry standards for appliance repair emphasize the importance of seeking expert help for complex issues.
Preventative Measures for Long-term Use
Extending the lifespan of your Keurig coffee maker involves regular maintenance and care. Here are some tips:
- Regularly descale the machine to prevent mineral buildup.
- Use high-quality water to minimize impurities.
- Keep the machine clean and free of debris.
Keurig’s maintenance guide and personal experience with long-term appliance care highlight the importance of these preventative measures.
FAQs
How do I know if my Keurig coffee maker is beyond repair?
Look for signs like repeated failures after multiple fixes, significant physical damage, and advice from professional repair services. If your Keurig continues to malfunction despite several repairs, it may be more cost-effective to replace it.
Can I use a different power cord for my Keurig?
It is recommended to use a genuine Keurig power cord to ensure compatibility and safety. Using a non-genuine cord can lead to issues with power supply and may pose a safety risk.
How often should I descale my Keurig coffee maker?
Descaling should be done every 3-6 months depending on water hardness and usage frequency. Regular descaling helps prevent mineral buildup and ensures optimal performance of your coffee maker.
What are the signs of a failing water pump?
Signs include slow or no water flow, unusual noises, and the machine not turning on. A failing water pump can significantly affect the performance of your Keurig and may need to be replaced.
Is it safe to repair the Keurig coffee maker myself?
Minor repairs can be done safely with proper knowledge and tools, but for major issues, it’s best to seek professional help. Attempting complex repairs without the necessary expertise can lead to further damage or safety risks.
Conclusion
A Keurig coffee maker that won’t turn on can be a frustrating problem, but with the right troubleshooting steps and maintenance tips, you can often resolve the issue and get your morning routine back on track. Remember to follow official guidelines and seek professional help when needed.
Regular maintenance and careful use can extend the lifespan of your Keurig, ensuring you enjoy your favorite brew for years to come.